Build a basic LLM chat app
Introduction
The advent of large language models like GPT has revolutionized the ease of developing chat-based applications. Streamlit offers several Chat elements, enabling you to build Graphical User Interfaces (GUIs) for conversational agents or chatbots. Leveraging session state along with these elements allows you to construct anything from a basic chatbot to a more advanced, ChatGPT-like experience using purely Python code.
In this tutorial, we'll start by walking through Streamlit's chat elements, st.chat_message and st.chat_input. Then we'll proceed to construct three distinct applications, each showcasing an increasing level of complexity and functionality:
- First, we'll Build a bot that mirrors your input to get a feel for the chat elements and how they work. We'll also introduce session state and how it can be used to store the chat history. This section will serve as a foundation for the rest of the tutorial.
- Next, you'll learn how to Build a simple chatbot GUI with streaming.
- Finally, we'll Build a ChatGPT-like app that leverages session state to remember conversational context, all within less than 50 lines of code.
Here's a sneak peek of the LLM-powered chatbot GUI with streaming we'll build in this tutorial:
Play around with the above demo to get a feel for what we'll build in this tutorial. A few things to note:
- There's a chat input at the bottom of the screen that's always visible. It contains some placeholder text. You can type in a message and press Enter or click the run button to send it.
- When you enter a message, it appears as a chat message in the container above. The container is scrollable, so you can scroll up to see previous messages. A default avatar is displayed to your messages' left.
- The assistant's responses are streamed to the frontend and are displayed with a different default avatar.
Before we start building, let's take a closer look at the chat elements we'll use.
Chat elements
Streamlit offers several commands to help you build conversational apps. These chat elements are designed to be used in conjunction with each other, but you can also use them separately.
st.chat_message lets you insert a chat message container into the app so you can display messages from the user or the app. Chat containers can contain other Streamlit elements, including charts, tables, text, and more. st.chat_input lets you display a chat input widget so the user can type in a message.
For an overview of the API, check out this video tutorial by Chanin Nantasenamat (@dataprofessor), a Senior Developer Advocate at Streamlit.
st.chat_message
st.chat_message lets you insert a multi-element chat message container into your app. The returned container can contain any Streamlit element, including charts, tables, text, and more. To add elements to the returned container, you can use with notation.
st.chat_message's first parameter is the name of the message author, which can be either "user" or "assistant" to enable preset styling and avatars, like in the demo above. You can also pass in a custom string to use as the author name. Currently, the name is not shown in the UI but is only set as an accessibility label. For accessibility reasons, you should not use an empty string.
Here's an minimal example of how to use st.chat_message to display a welcome message:
import streamlit as st

with st.chat_message("user"):
    st.write("Hello 👋")

Notice the message is displayed with a default avatar and styling since we passed in "user" as the author name. You can also pass in "assistant" as the author name to use a different default avatar and styling, or pass in a custom name and avatar. See the API reference for more details.
import streamlit as st
import numpy as np

with st.chat_message("assistant"):
    st.write("Hello human")
    st.bar_chart(np.random.randn(30, 3))
While we've used the preferred with notation in the above examples, you can also just call methods directly in the returned objects. The below example is equivalent to the one above:
import streamlit as st
import numpy as np

message = st.chat_message("assistant")
message.write("Hello human")
message.bar_chart(np.random.randn(30, 3))
So far, we've displayed predefined messages. But what if we want to display messages based on user input?
st.chat_input
st.chat_input lets you display a chat input widget so the user can type in a message. The returned value is the user's input, which is None if the user hasn't sent a message yet. You can also pass in a default prompt to display in the input widget. Here's an example of how to use st.chat_input to display a chat input widget and show the user's input:
import streamlit as st

prompt = st.chat_input("Say something")
if prompt:
    st.write(f"User has sent the following prompt: {prompt}")
Pretty straightforward, right? Now let's combine st.chat_message and st.chat_input to build a bot the mirrors or echoes your input.
Build a bot that mirrors your input
In this section, we'll build a bot that mirrors or echoes your input. More specifically, the bot will respond to your input with the same message. We'll use st.chat_message to display the user's input and st.chat_input to accept user input. We'll also use session state to store the chat history so we can display it in the chat message container.
First, let's think about the different components we'll need to build our bot:
- Two chat message containers to display messages from the user and the bot, respectively.
- A chat input widget so the user can type in a message.
- A way to store the chat history so we can display it in the chat message containers. We can use a list to store the messages, and append to it every time the user or bot sends a message. Each entry in the list will be a dictionary with the following keys:
role(the author of the message), andcontent(the message content).
import streamlit as st

st.title("Echo Bot")

# Initialize chat history
if "messages" not in st.session_state:
    st.session_state.messages = []

# Display chat messages from history on app rerun
for message in st.session_state.messages:
    with st.chat_message(message["role"]):
        st.markdown(message["content"])
In the above snippet, we've added a title to our app and a for loop to iterate through the chat history and display each message in the chat message container (with the author role and message content). We've also added a check to see if the messages key is in st.session_state. If it's not, we initialize it to an empty list. This is because we'll be adding messages to the list later on, and we don't want to overwrite the list every time the app reruns.
Now let's accept user input with st.chat_input, display the user's message in the chat message container, and add it to the chat history.
# React to user input
if prompt := st.chat_input("What is up?"):
    # Display user message in chat message container
    with st.chat_message("user"):
        st.markdown(prompt)
    # Add user message to chat history
    st.session_state.messages.append({"role": "user", "content": prompt})
We used the := operator to assign the user's input to the prompt variable and checked if it's not None in the same line. If the user has sent a message, we display the message in the chat message container and append it to the chat history.
All that's left to do is add the chatbot's responses within the if block. We'll use the same logic as before to display the bot's response (which is just the user's prompt) in the chat message container and add it to the history.
response = f"Echo: {prompt}"
# Display assistant response in chat message container
with st.chat_message("assistant"):
    st.markdown(response)
# Add assistant response to chat history
st.session_state.messages.append({"role": "assistant", "content": response})
Putting it all together, here's the full code for our simple chatbot GUI and the result:
import streamlit as st

st.title("Echo Bot")

# Initialize chat history
if "messages" not in st.session_state:
    st.session_state.messages = []

# Display chat messages from history on app rerun
for message in st.session_state.messages:
    with st.chat_message(message["role"]):
        st.markdown(message["content"])

# React to user input
if prompt := st.chat_input("What is up?"):
    # Display user message in chat message container
    st.chat_message("user").markdown(prompt)
    # Add user message to chat history
    st.session_state.messages.append({"role": "user", "content": prompt})

    response = f"Echo: {prompt}"
    # Display assistant response in chat message container
    with st.chat_message("assistant"):
        st.markdown(response)
    # Add assistant response to chat history
    st.session_state.messages.append({"role": "assistant", "content": response})
While the above example is very simple, it's a good starting point for building more complex conversational apps. Notice how the bot responds instantly to your input. In the next section, we'll add a delay to simulate the bot "thinking" before responding.
Build a simple chatbot GUI with streaming
In this section, we'll build a simple chatbot GUI that responds to user input with a random message from a list of pre-determind responses. In the next section, we'll convert this simple toy example into a ChatGPT-like experience using OpenAI.
Just like previously, we still require the same components to build our chatbot. Two chat message containers to display messages from the user and the bot, respectively. A chat input widget so the user can type in a message. And a way to store the chat history so we can display it in the chat message containers.
Let's just copy the code from the previous section and add a few tweaks to it.
import streamlit as st
import random
import time

st.title("Simple chat")

# Initialize chat history
if "messages" not in st.session_state:
    st.session_state.messages = []

# Display chat messages from history on app rerun
for message in st.session_state.messages:
    with st.chat_message(message["role"]):
        st.markdown(message["content"])

# Accept user input
if prompt := st.chat_input("What is up?"):
    # Display user message in chat message container
    with st.chat_message("user"):
        st.markdown(prompt)
    # Add user message to chat history
    st.session_state.messages.append({"role": "user", "content": prompt})
The only difference so far is we've changed the title of our app and added imports for random and time. We'll use random to randomly select a response from a list of responses and time to add a delay to simulate the chatbot "thinking" before responding.
All that's left to do is add the chatbot's responses within the if block. We'll use a list of responses and randomly select one to display. We'll also add a delay to simulate the chatbot "thinking" before responding (or stream its response). Let's make a helper function for this and insert it at the top of our app.
# Streamed response emulator
def response_generator():
    response = random.choice(
        [
            "Hello there! How can I assist you today?",
            "Hi, human! Is there anything I can help you with?",
            "Do you need help?",
        ]
    )
    for word in response.split():
        yield word + " "
        time.sleep(0.05)
Back to writing the response in our chat interface, we'll use st.write_stream to write out the streamed response with a typewriter effect.
# Display assistant response in chat message container
with st.chat_message("assistant"):
    response = st.write_stream(response_generator())
# Add assistant response to chat history
st.session_state.messages.append({"role": "assistant", "content": response})
Above, we've added a placeholder to display the chatbot's response. We've also added a for loop to iterate through the response and display it one word at a time. We've added a delay of 0.05 seconds between each word to simulate the chatbot "thinking" before responding. Finally, we append the chatbot's response to the chat history. As you've probably guessed, this is a naive implementation of streaming. We'll see how to implement streaming with OpenAI in the next section.
Putting it all together, here's the full code for our simple chatbot GUI and the result:
import streamlit as st
import random
import time


# Streamed response emulator
def response_generator():
    response = random.choice(
        [
            "Hello there! How can I assist you today?",
            "Hi, human! Is there anything I can help you with?",
            "Do you need help?",
        ]
    )
    for word in response.split():
        yield word + " "
        time.sleep(0.05)


st.title("Simple chat")

# Initialize chat history
if "messages" not in st.session_state:
    st.session_state.messages = []

# Display chat messages from history on app rerun
for message in st.session_state.messages:
    with st.chat_message(message["role"]):
        st.markdown(message["content"])

# Accept user input
if prompt := st.chat_input("What is up?"):
    # Add user message to chat history
    st.session_state.messages.append({"role": "user", "content": prompt})
    # Display user message in chat message container
    with st.chat_message("user"):
        st.markdown(prompt)

    # Display assistant response in chat message container
    with st.chat_message("assistant"):
        response = st.write_stream(response_generator())
    # Add assistant response to chat history
    st.session_state.messages.append({"role": "assistant", "content": response})
Play around with the above demo to get a feel for what we've built. It's a very simple chatbot GUI, but it has all the components of a more sophisticated chatbot. In the next section, we'll see how to build a ChatGPT-like app using OpenAI.
Build a ChatGPT-like app
Now that you've understood the basics of Streamlit's chat elements, let's make a few tweaks to it to build our own ChatGPT-like app. You'll need to install the OpenAI Python library and get an API key to follow along.
Install dependencies
First let's install the dependencies we'll need for this section:
pip install openai streamlit
Add OpenAI API key to Streamlit secrets
Next, let's add our OpenAI API key to Streamlit secrets. We do this by creating .streamlit/secrets.toml file in our project directory and adding the following lines to it:
# .streamlit/secrets.toml
OPENAI_API_KEY = "YOUR_API_KEY"
Write the app
Now let's write the app. We'll use the same code as before, but we'll replace the list of responses with a call to the OpenAI API. We'll also add a few more tweaks to make the app more ChatGPT-like.
import streamlit as st
from openai import OpenAI

st.title("ChatGPT-like clone")

# Set OpenAI API key from Streamlit secrets
client = OpenAI(api_key=st.secrets["OPENAI_API_KEY"])

# Set a default model
if "openai_model" not in st.session_state:
    st.session_state["openai_model"] = "gpt-3.5-turbo"

# Initialize chat history
if "messages" not in st.session_state:
    st.session_state.messages = []

# Display chat messages from history on app rerun
for message in st.session_state.messages:
    with st.chat_message(message["role"]):
        st.markdown(message["content"])

# Accept user input
if prompt := st.chat_input("What is up?"):
    # Add user message to chat history
    st.session_state.messages.append({"role": "user", "content": prompt})
    # Display user message in chat message container
    with st.chat_message("user"):
        st.markdown(prompt)
All that's changed is that we've added a default model to st.session_state and set our OpenAI API key from Streamlit secrets. Here's where it gets interesting. We can replace our emulated stream with the model's responses from OpenAI:
    # Display assistant response in chat message container
    with st.chat_message("assistant"):
        stream = client.chat.completions.create(
            model=st.session_state["openai_model"],
            messages=[
                {"role": m["role"], "content": m["content"]}
                for m in st.session_state.messages
            ],
            stream=True,
        )
        response = st.write_stream(stream)
    st.session_state.messages.append({"role": "assistant", "content": response})
Above, we've replaced the list of responses with a call to OpenAI().chat.completions.create. We've set stream=True to stream the responses to the frontend. In the API call, we pass the model name we hardcoded in session state and pass the chat history as a list of messages. We also pass the role and content of each message in the chat history. Finally, OpenAI returns a stream of responses (split into chunks of tokens), which we iterate through and display each chunk.
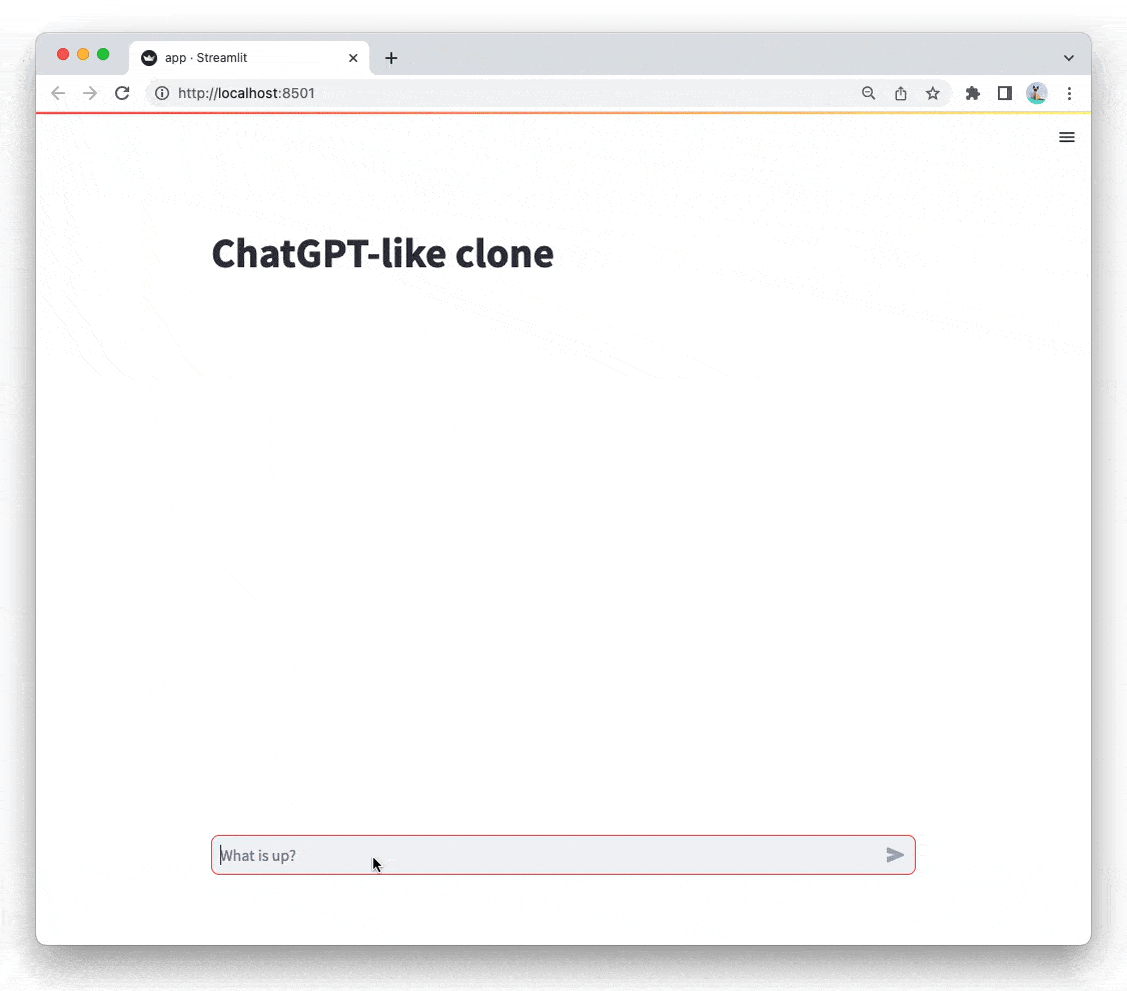
Putting it all together, here's the full code for our ChatGPT-like app and the result:
from openai import OpenAI
import streamlit as st

st.title("ChatGPT-like clone")

client = OpenAI(api_key=st.secrets["OPENAI_API_KEY"])

if "openai_model" not in st.session_state:
    st.session_state["openai_model"] = "gpt-3.5-turbo"

if "messages" not in st.session_state:
    st.session_state.messages = []

for message in st.session_state.messages:
    with st.chat_message(message["role"]):
        st.markdown(message["content"])

if prompt := st.chat_input("What is up?"):
    st.session_state.messages.append({"role": "user", "content": prompt})
    with st.chat_message("user"):
        st.markdown(prompt)

    with st.chat_message("assistant"):
        stream = client.chat.completions.create(
            model=st.session_state["openai_model"],
            messages=[
                {"role": m["role"], "content": m["content"]}
                for m in st.session_state.messages
            ],
            stream=True,
        )
        response = st.write_stream(stream)
    st.session_state.messages.append({"role": "assistant", "content": response})
Congratulations! You've built your own ChatGPT-like app in less than 50 lines of code.
We're very excited to see what you'll build with Streamlit's chat elements. Experiment with different models and tweak the code to build your own conversational apps. If you build something cool, let us know on the Forum or check out some other Generative AI apps for inspiration. 🎈
Still have questions?
Our forums are full of helpful information and Streamlit experts.