Additional Streamlit features
So you've read all about Streamlit's Basic concepts and gotten a taste of caching and Session State in Advanced concepts. But what about the bells and whistles? Here's a quick look at some extra features to take your app to the next level.
Theming
Streamlit supports Light and Dark themes out of the box. Streamlit will first check if the user viewing an app has a Light or Dark mode preference set by their operating system and browser. If so, then that preference will be used. Otherwise, the Light theme is applied by default.
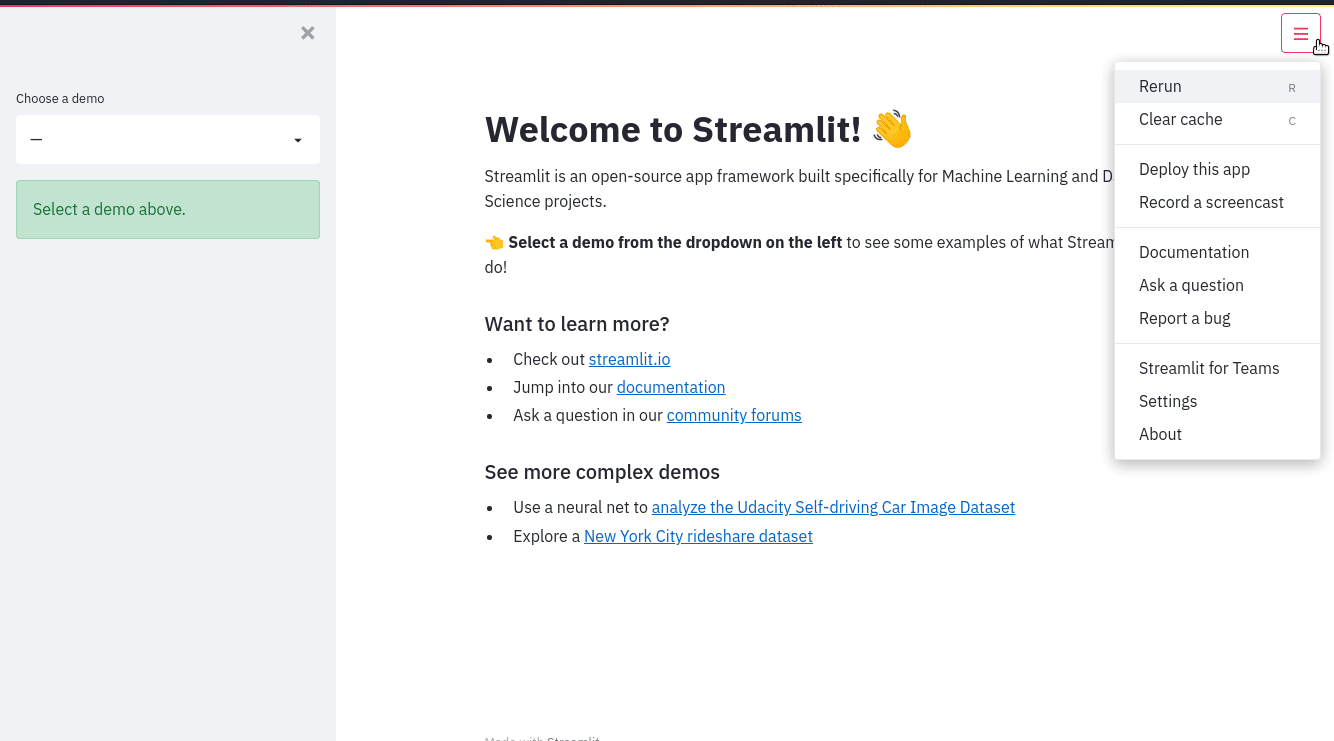
You can also change the active theme from "⋮" → "Settings".
Want to add your own theme to an app? The "Settings" menu has a theme editor accessible by clicking on "Edit active theme". You can use this editor to try out different colors and see your app update live.
When you're happy with your work, themes can be saved by
setting config options
in the [theme] config section. After you've defined a theme for your app, it
will appear as "Custom Theme" in the theme selector and will be applied by
default instead of the included Light and Dark themes.
More information about the options available when defining a theme can be found in the theme option documentation.
Note
The theme editor menu is available only in local development. If you've deployed your app using Streamlit Community Cloud, the "Edit active theme" button will no longer be displayed in the "Settings" menu.
Tip
Another way to experiment with different theme colors is to turn on the "Run on save" option, edit your config.toml file, and watch as your app reruns with the new theme colors applied.
Pages
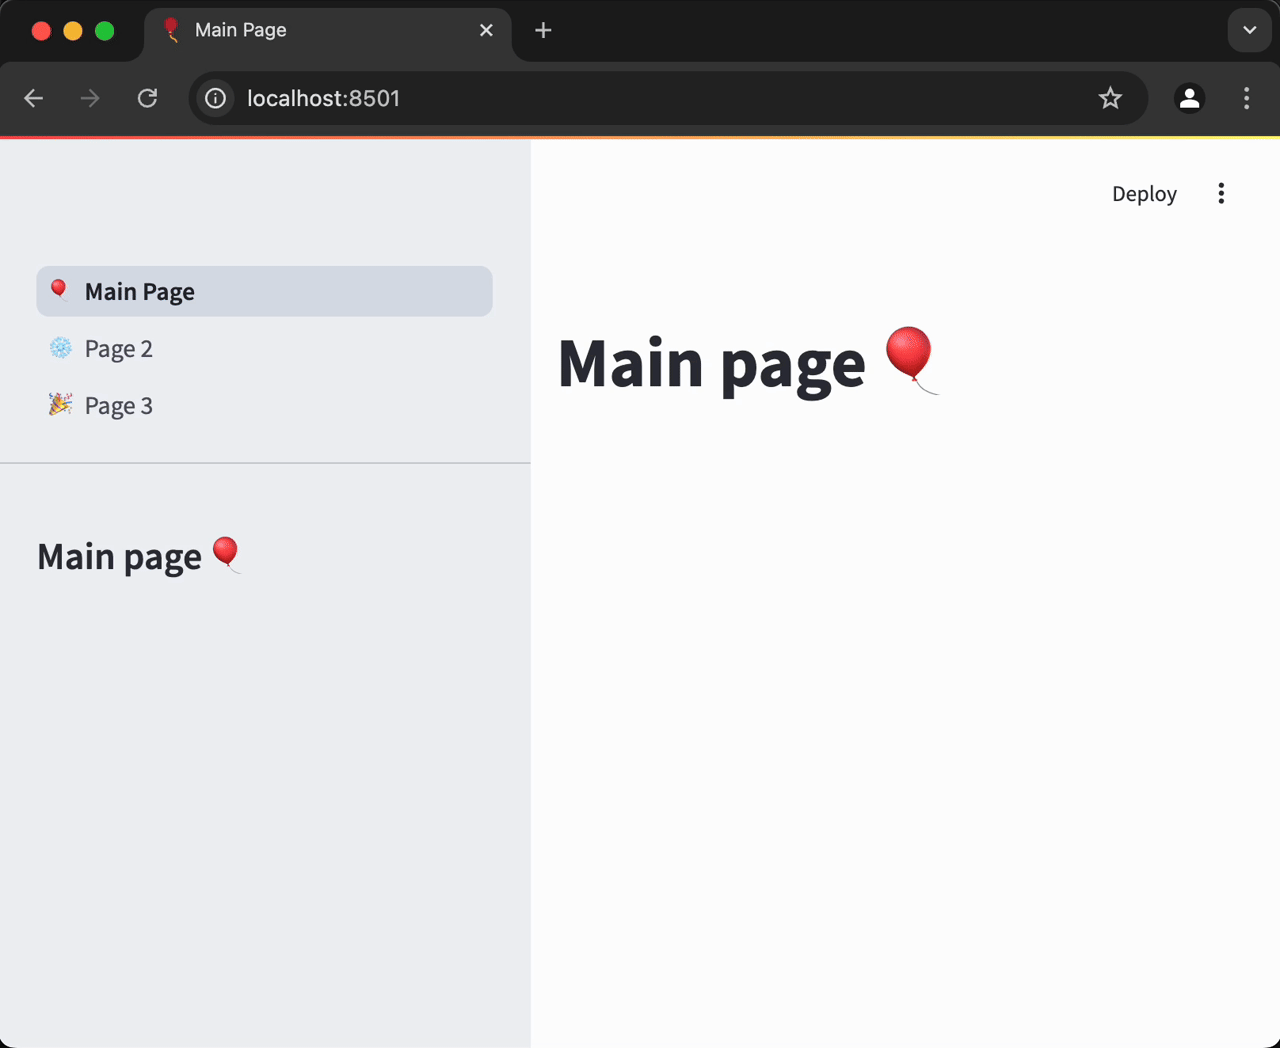
As apps grow large, it becomes useful to organize them into multiple pages. This makes the app easier to manage as a developer and easier to navigate as a user. Streamlit provides a powerful way to create multipage apps using st.Page and st.navigation. Just create your pages and connect them with navigation as follows:
- Create an entry point script that defines and connects your pages
- Create separate Python files for each page's content
- Use
st.Pageto define your pages andst.navigationto connect them
Here's an example of a three-page app:
streamlit_app.py
import streamlit as st

# Define the pages
main_page = st.Page("main_page.py", title="Main Page", icon="🎈")
page_2 = st.Page("page_2.py", title="Page 2", icon="❄️")
page_3 = st.Page("page_3.py", title="Page 3", icon="🎉")

# Set up navigation
pg = st.navigation([main_page, page_2, page_3])

# Run the selected page
pg.run()
main_page.py
import streamlit as st

# Main page content
st.markdown("# Main page 🎈")
st.sidebar.markdown("# Main page 🎈")
page_2.py
import streamlit as st

st.markdown("# Page 2 ❄️")
st.sidebar.markdown("# Page 2 ❄️")
page_3.py
import streamlit as st

st.markdown("# Page 3 🎉")
st.sidebar.markdown("# Page 3 🎉")
Now run streamlit run streamlit_app.py and view your shiny new multipage app! The navigation menu will automatically appear, allowing users to switch between pages.
Our documentation on Multipage apps teaches you how to add pages to your app, including how to define pages, structure and run multipage apps, and navigate between pages. Once you understand the basics, create your first multipage app!
Custom components
If you can't find the right component within the Streamlit library, try out custom components to extend Streamlit's built-in functionality. Explore and browse through popular, community-created components in the Components gallery. If you dabble in frontend development, you can build your own custom component with Streamlit's components API.
Static file serving
As you learned in Streamlit fundamentals, Streamlit runs a server that clients connect to. That means viewers of your app don't have direct access to the files which are local to your app. Most of the time, this doesn't matter because Streamlt commands handle that for you. When you use st.image(<path-to-image>) your Streamlit server will access the file and handle the necessary hosting so your app viewers can see it. However, if you want a direct URL to an image or file you'll need to host it. This requires setting the correct configuration and placing your hosted files in a directory named static. For example, your project could look like:
your-project/
├── static/
│   └── my_hosted-image.png
└── streamlit_app.py
To learn more, read our guide on Static file serving.
App testing
Good development hygiene includes testing your code. Automated testing allows you to write higher quality code, faster! Streamlit has a built-in testing framework that let's you build tests easily. Use your favorite testing framework to run your tests. We like pytest. When you test a Streamlit app, you simulate running the app, declare user input, and inspect the results. You can use GitHub workflows to automate your tests and get instant alerts about breaking changes. Learn more in our guide to App testing.
Still have questions?
Our forums are full of helpful information and Streamlit experts.