Connect Streamlit to Snowflake
Introduction
This guide explains how to securely access a Snowflake database from Streamlit. It uses st.connection, the Snowpark library and Streamlit's Secrets management. The below example code will only work on Streamlit version >= 1.28, when st.connection was added.
Create a Snowflake database
Note
If you already have a database that you want to use, feel free to skip to the next step.
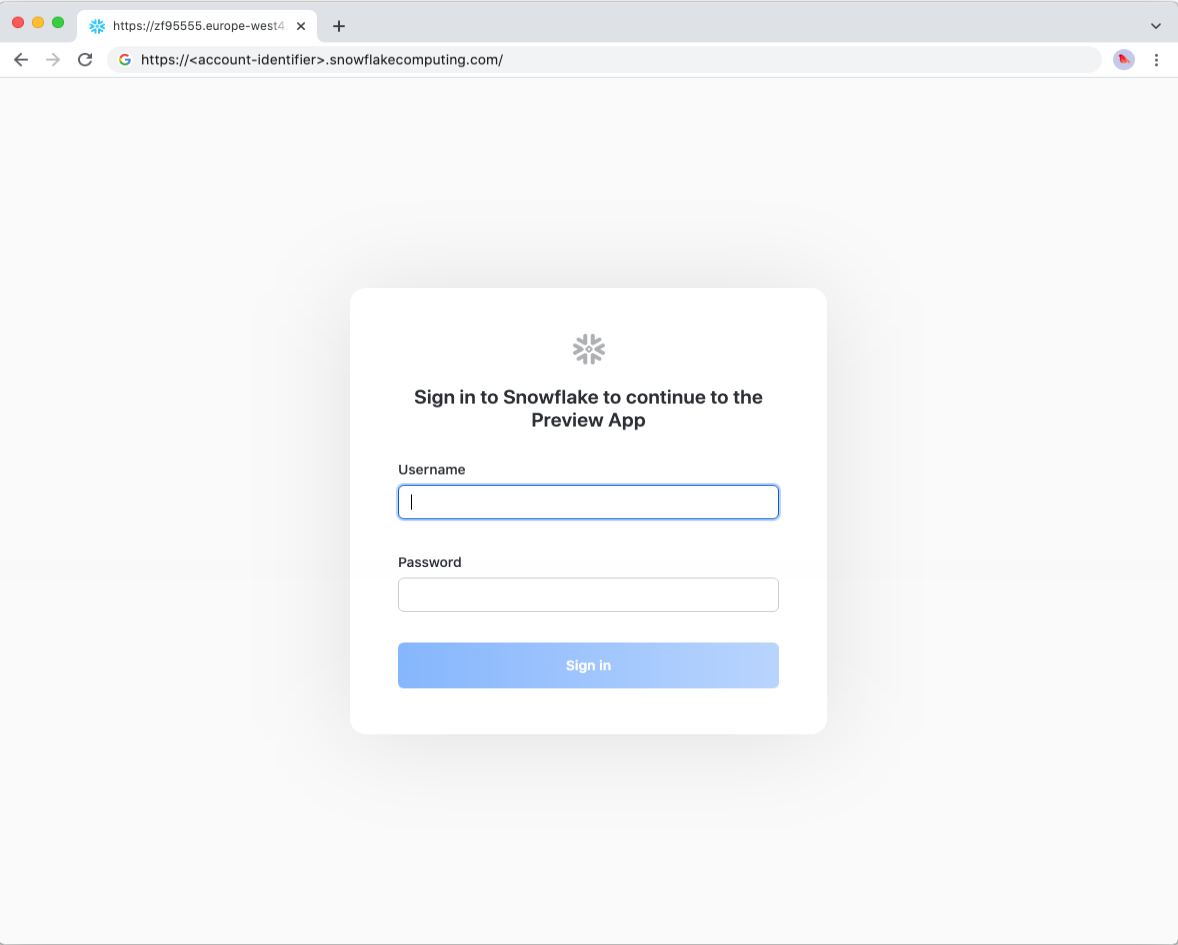
First, sign up for Snowflake and log into the Snowflake web interface (note down your username, password, and account identifier!):
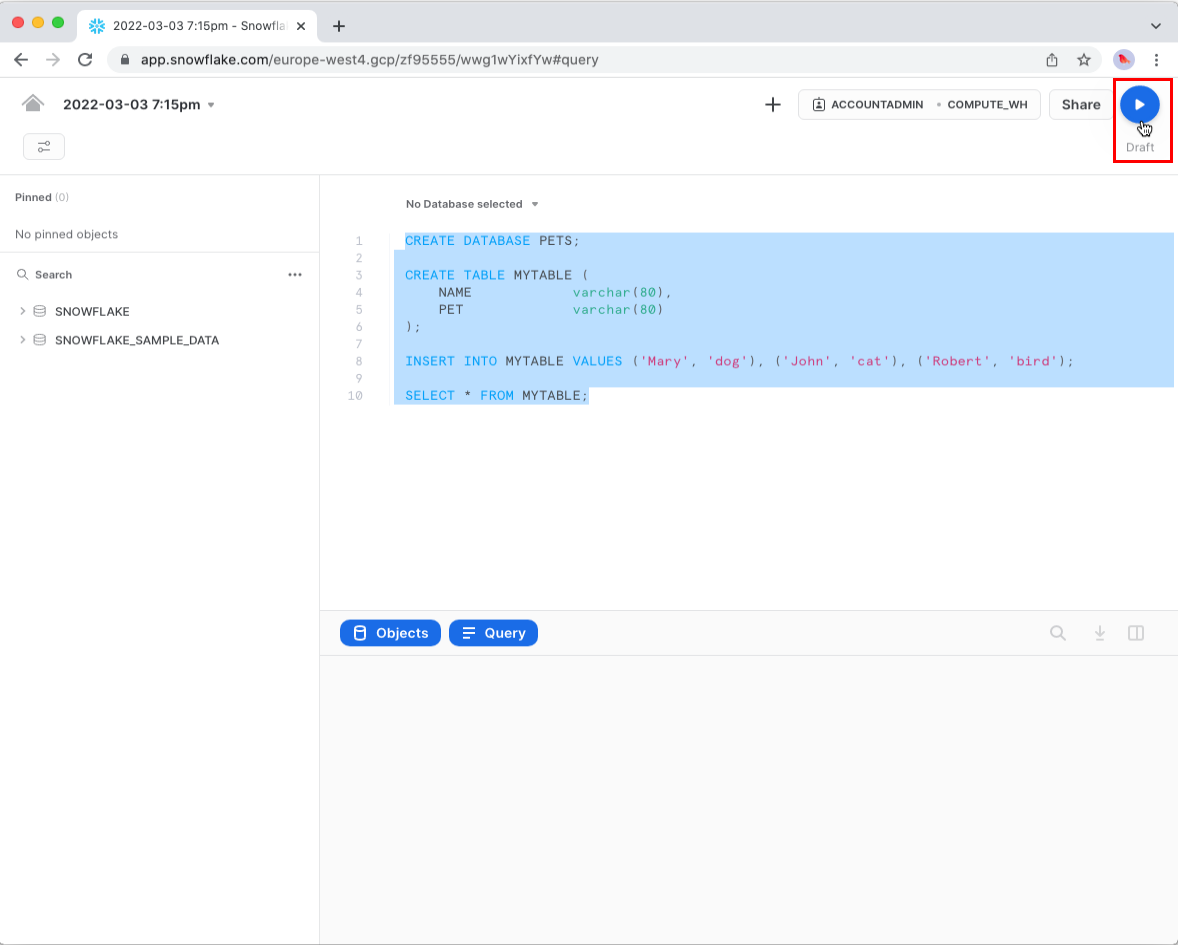
Enter the following queries into the SQL editor in the Worksheets page to create a database and a table with some example values:
CREATE DATABASE PETS;

CREATE TABLE MYTABLE (
    NAME            varchar(80),
    PET             varchar(80)
);

INSERT INTO MYTABLE VALUES ('Mary', 'dog'), ('John', 'cat'), ('Robert', 'bird');

SELECT * FROM MYTABLE;
Before you execute the queries, first determine which Snowflake UI / web interface you're using. The examples below use Snowsight. You can also use Classic Console Worksheets or any other means of running Snowflake SQL statements.
Execute queries in a Worksheet
To execute the queries in a Worksheet, highlight or select all the queries with your mouse, and click the play button in the top right corner.
Important
Be sure to highlight or select all the queries (lines 1-10) before clicking the play button.
Once you have executed the queries, you should see a preview of the table in the Results panel at the bottom of the page. Additionally, you should see your newly created database and schema by expanding the accordion on the left side of the page. Lastly, the warehouse name is displayed on the button to the left of the Share button.
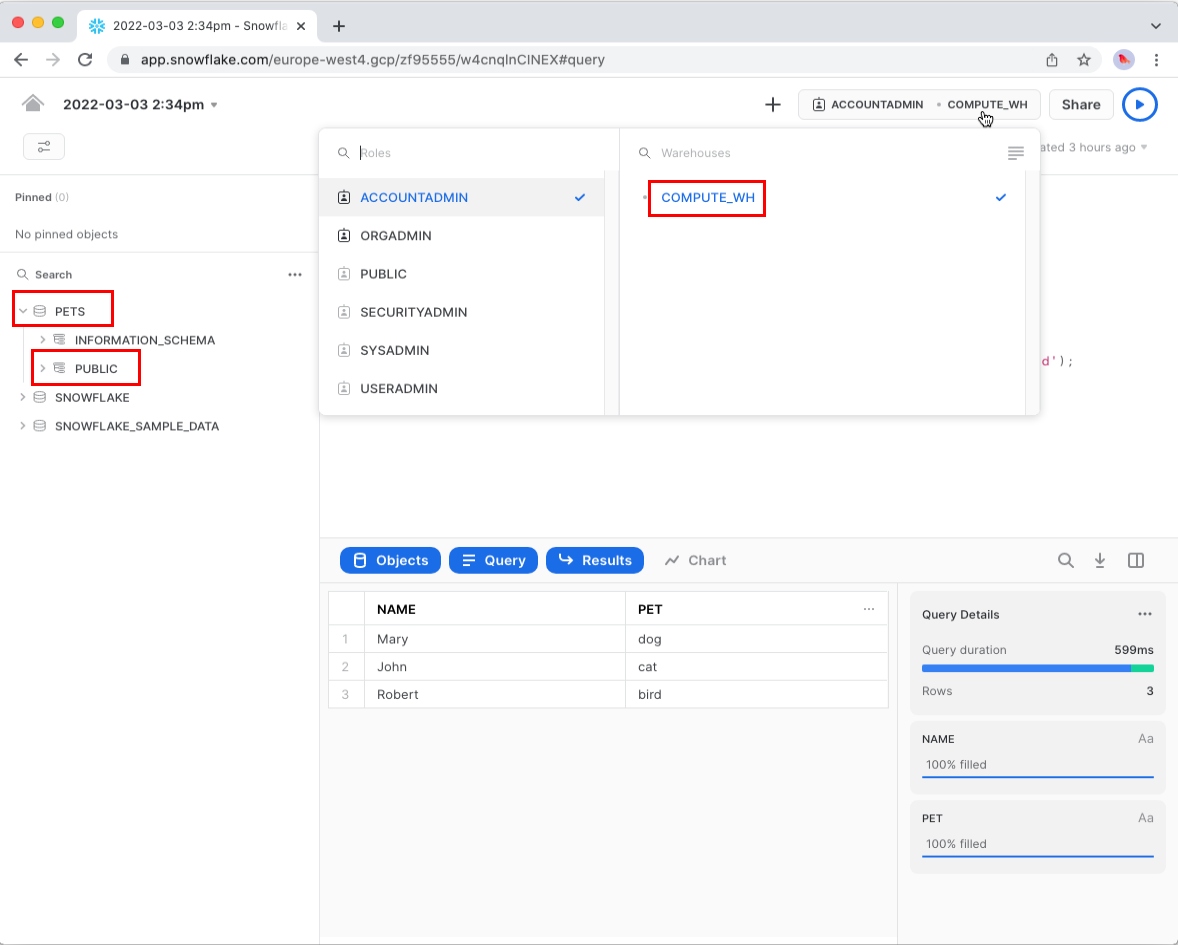
Make sure to note down the name of your warehouse, database, and schema. ☝️
Install snowflake-snowpark-python
You can find the instructions and prerequisites for installing snowflake-snowpark-python in the Snowflake Developer Guide.
pip install snowflake-snowpark-python
Add connection parameters to your local app secrets
Your local Streamlit app will read secrets from a file .streamlit/secrets.toml in your app’s root directory. Learn more about Streamlit secrets management here. Create this file if it doesn’t exist yet and add your Snowflake username, password, account identifier, and the name of your warehouse, database, and schema as shown below:
# .streamlit/secrets.toml

[connections.snowflake]
account = "xxx"
user = "xxx"
password = "xxx"
role = "xxx"
warehouse = "xxx"
database = "xxx"
schema = "xxx"
client_session_keep_alive = true
If you created the database from the previous step, the names of your database and schema are PETS and PUBLIC, respectively. Streamlit will also use Snowflake config and credentials from a SnowSQL config file if available.
Important
Add this file to .gitignore and don't commit it to your GitHub repo!
Write your Streamlit app
Copy the code below to your Streamlit app and run it. Make sure to adapt the query to use the name of your table.
# streamlit_app.py

import streamlit as st

# Initialize connection.
conn = st.connection("snowflake")

# Perform query.
df = conn.query("SELECT * from mytable;", ttl=600)

# Print results.
for row in df.itertuples():
    st.write(f"{row.NAME} has a :{row.PET}:")
See st.connection above? This handles secrets retrieval, setup, query caching and retries. By default, query() results are cached without expiring. In this case, we set ttl=600 to ensure the query result is cached for no longer than 10 minutes. You can also set ttl=0 to disable caching. Learn more in Caching.
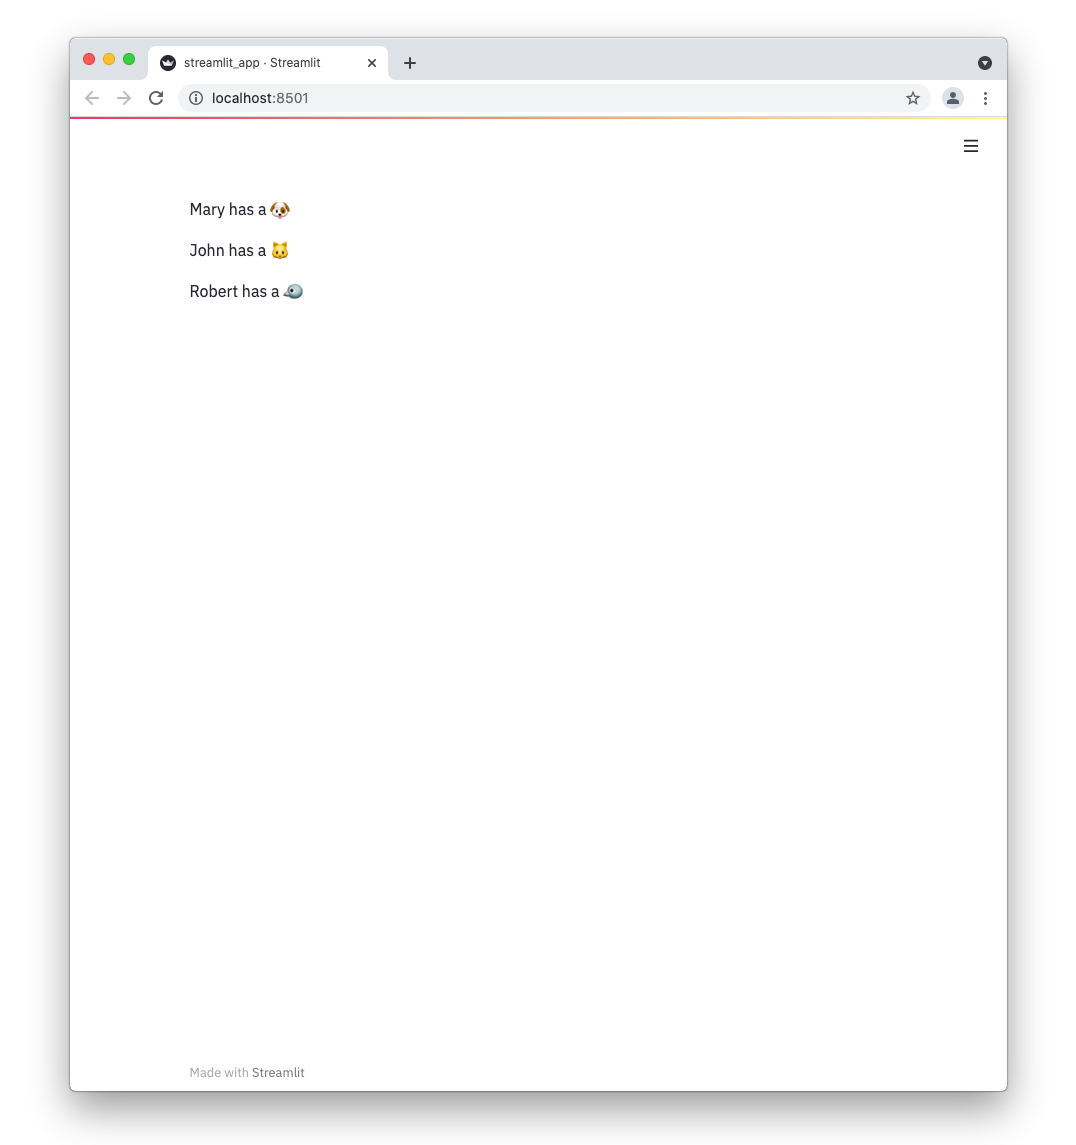
If everything worked out (and you used the example table we created above), your app should look like this:
Using a Snowpark Session
The same SnowflakeConnection used above also provides access to the Snowpark Session for DataFrame-style operations that run natively inside Snowflake. Using this approach, you can rewrite the app above as follows:
# streamlit_app.py

import streamlit as st

# Initialize connection.
conn = st.connection("snowflake")

# Load the table as a dataframe using the Snowpark Session.
@st.cache_data
def load_table():
    session = conn.session()
    return session.table("mytable").to_pandas()

df = load_table()

# Print results.
for row in df.itertuples():
    st.write(f"{row.NAME} has a :{row.PET}:")
If everything worked out (and you used the example table we created above), your app should look the same as the screenshot from the first example above.
Connecting to Snowflake from Community Cloud
This tutorial assumes a local Streamlit app, however you can also connect to Snowflake from apps hosted in Community Cloud. The main additional steps are:
- Include information about dependencies using a
requirements.txtfile withsnowflake-snowpark-pythonand any other dependencies. - Add your secrets to your Community Cloud app.
Still have questions?
Our forums are full of helpful information and Streamlit experts.