Quickstart
This is a concise set of steps to create your Streamlit Community Cloud account, deploy a sample app, and start editing it with GitHub Codespaces. For other options and complete explanations, start with Create your account.
You will sign in to your GitHub account during this process. Community Cloud will use the email from your GitHub account to create your Community Cloud account. For other sign-in options, see Create your account.
Prerequisites
- You must have a GitHub account.
Sign up for Streamlit Community Cloud
- Go to share.streamlit.io.
- Click "Continue to sign-in."
- Click "Continue with GitHub."
- Enter your GitHub credentials and follow GitHub's authentication prompts.
- Fill in your account information, and click "I accept" at the bottom.
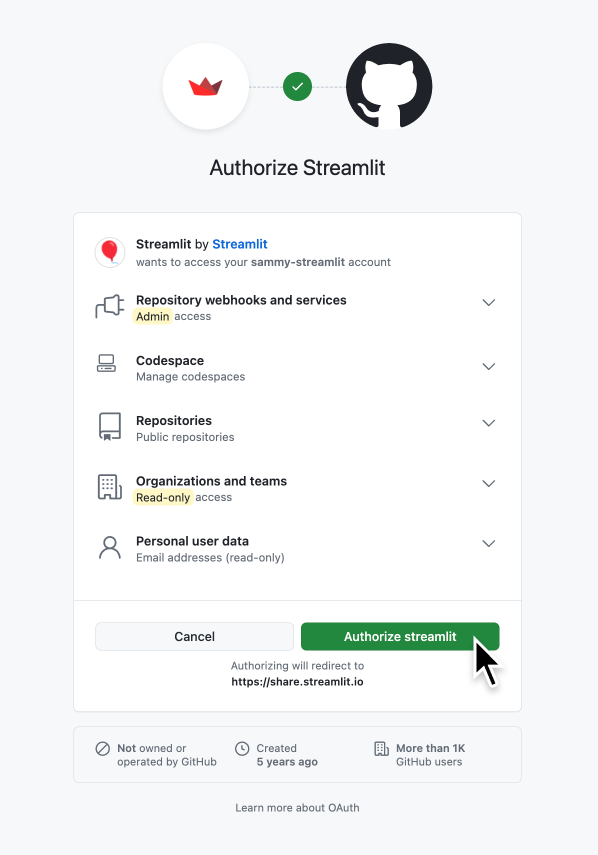
Add access to your public repositories
- In the upper-left corner, click "Workspaces warning."

- From the drop down, click "Connect GitHub account."
- Enter your GitHub credentials and follow GitHub's authentication prompts.
- Click "Authorize streamlit."
Optional: Add access to private repositories
- In the upper-left corner, click on your GitHub username.
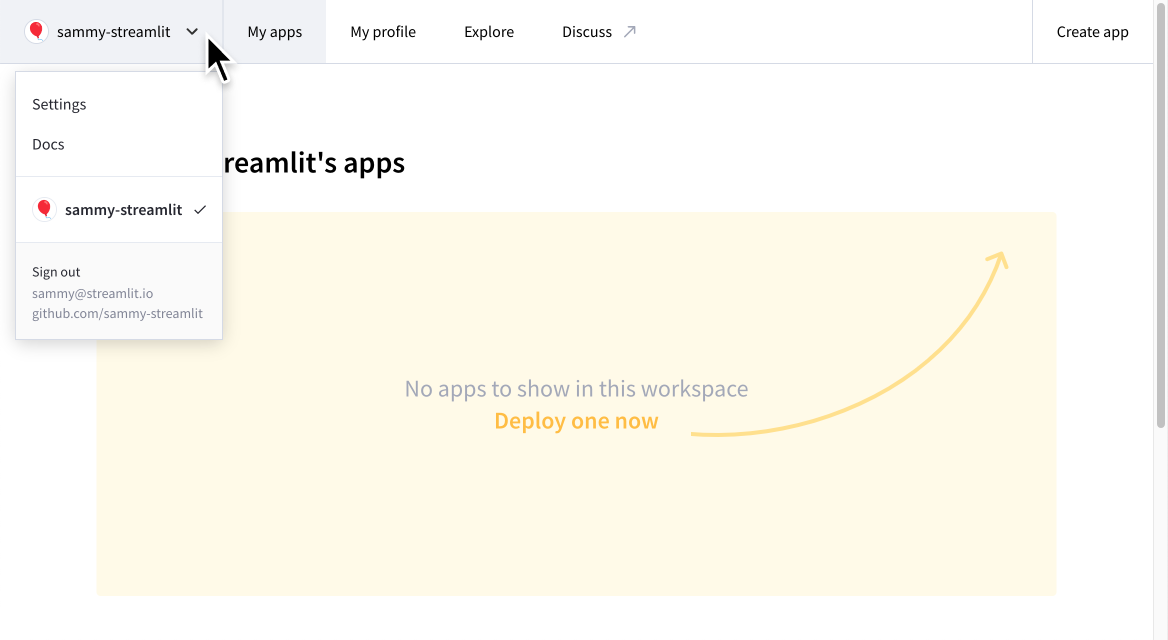
- From the drop down, click "Settings."
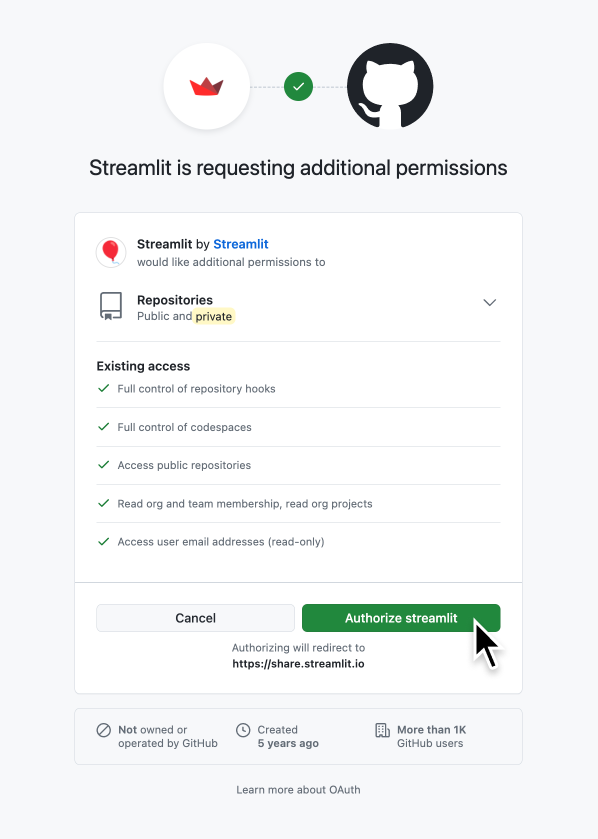
- On the left side of the dialog, select "Linked accounts."
- Under "Source control," click "Connect here arrow_forward."
- Click "Authorize streamlit."
Create a new app from a template
- In the upper-right corner, click "Create app."
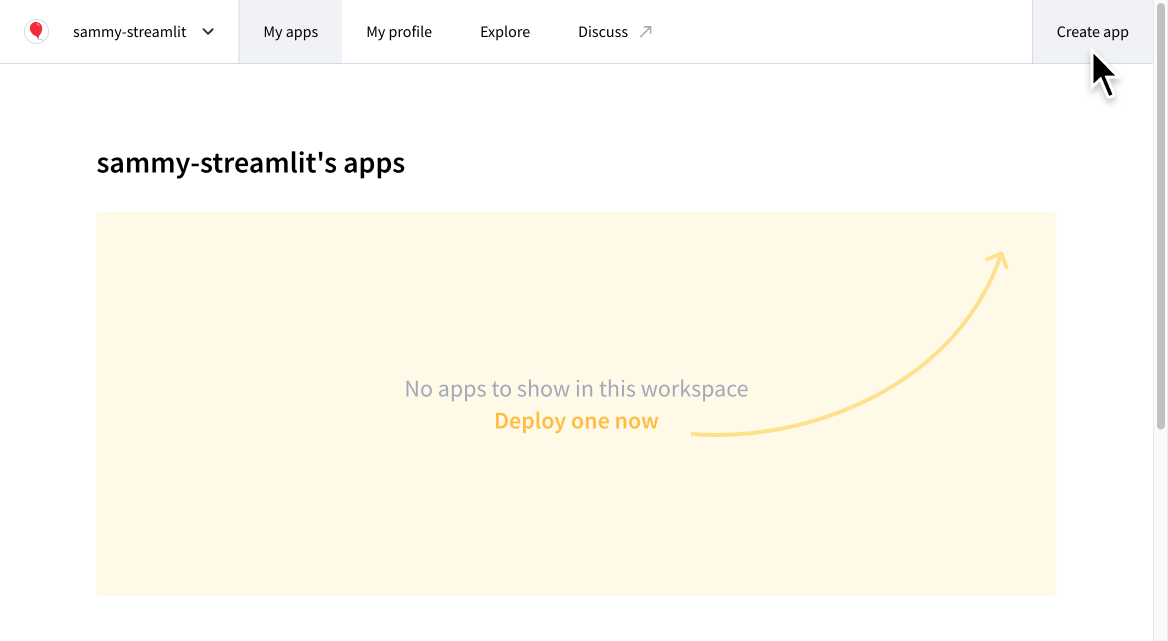
- When asked "Do you already have an app?" click "Nope, create one from a template."
- From the list of templates on the left, select "Blank app."
- At the bottom, select the option to "Open GitHub Codespaces..."
- At the bottom, click "Deploy."
Edit your app in GitHub Codespaces
-
Wait for GitHub to set up your codespace.
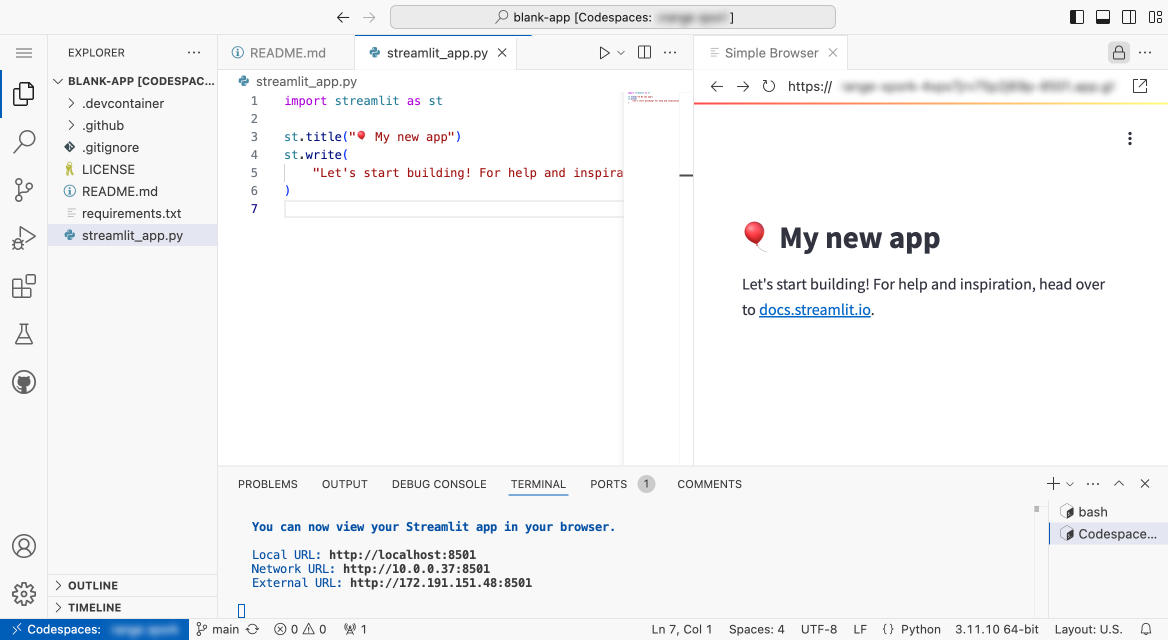
It can take several minutes to fully initialize your codespace. After the Visual Studio Code editor appears in your codespace, it can take several minutes to install Python and start the Streamlit server. When complete, a split screen view displays a code editor on the left and a running app on the right. The code editor opens two tabs by default: the repository's readme file and the app's entrypoint file.
-
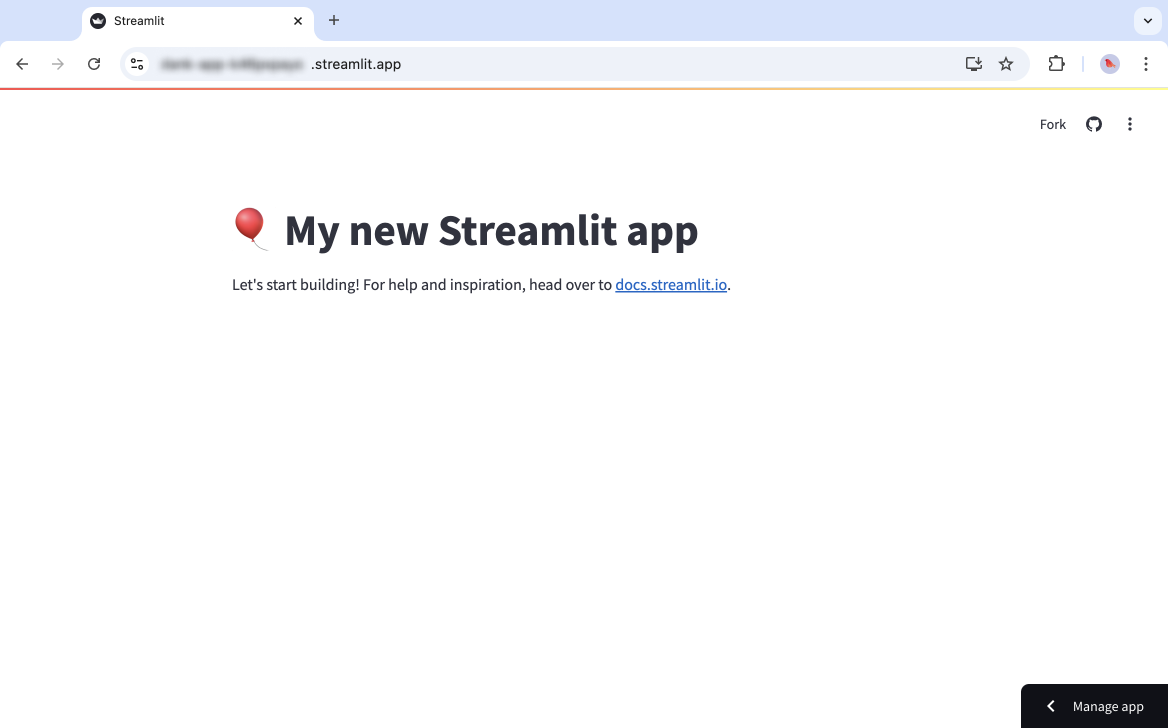
Go to the app's entrypoint file (
streamlit_app.py) in the left pane, and change line 3 by adding "Streamlit" insidest.title.Python-st.title("🎈 My new app") +st.title("🎈 My new Streamlit app")Files are automatically saved in your codespace with each edit.
-
A moment after typing a change, your app on the right side will display a rerun prompt. Click "Always rerun."
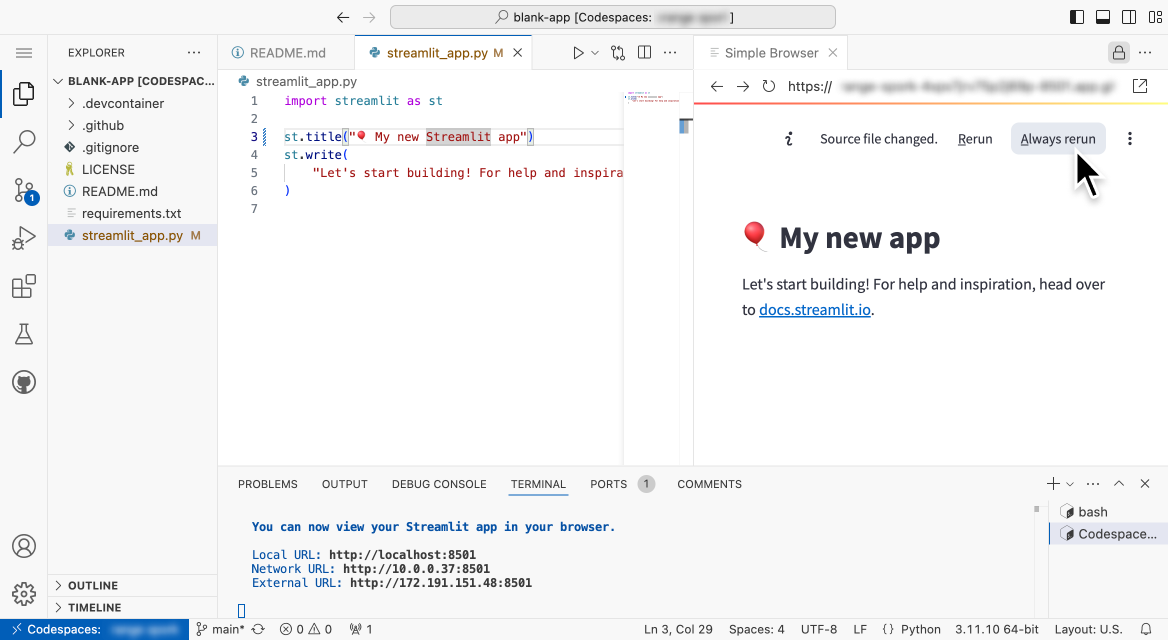
If the rerun prompt disappears before you click it, you can hover over the overflow menu icon (more_vert) to bring it back.
-
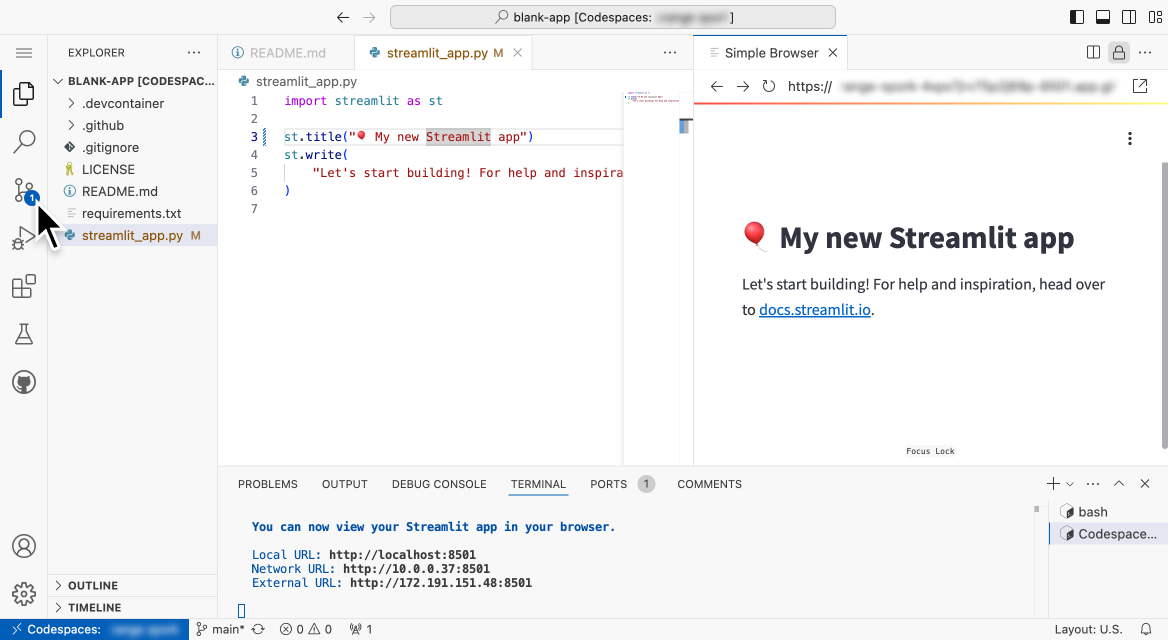
Optional: Continue to make edits and observe the changes within seconds.
Publish your changes
- In the left navigation bar, click the source control icon.
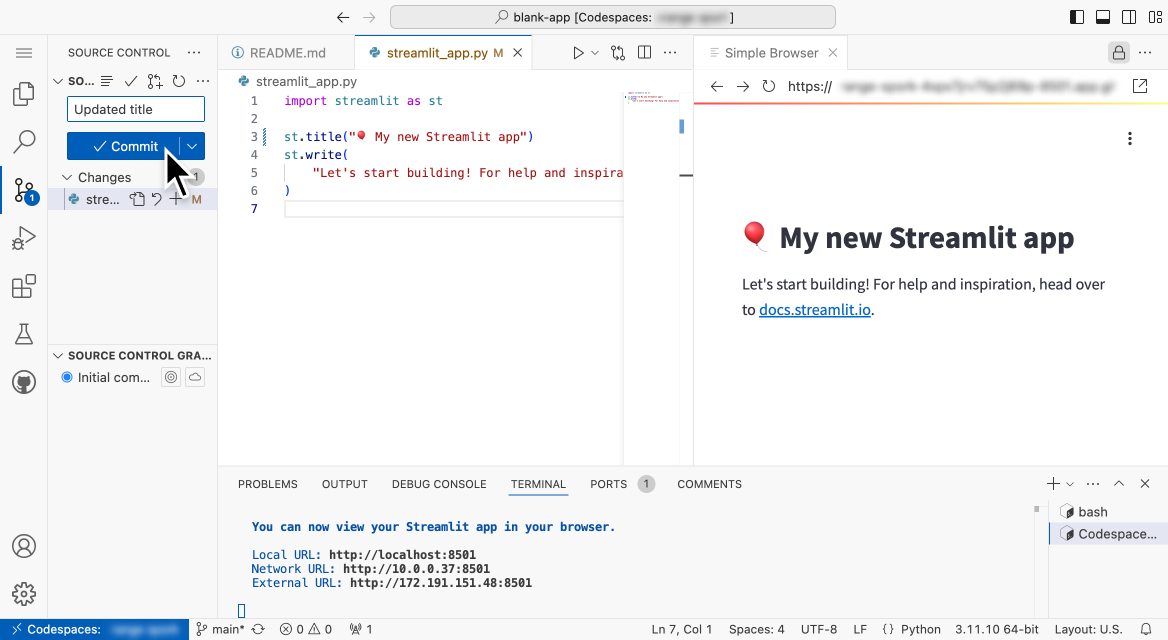
- In the source control sidebar on the left, enter a name for your commit.
- Click "check Commit."
-
To stage and commit all your changes, in the confirmation dialog, click "Yes." Your changes are committed locally in your codespace.
-
To push your commit to GitHub, in the source control sidebar on the left, click "cached 1 arrow_upward."
-
To push commits to "origin/main," in the confirmation dialog, click "OK."
Your changes are now saved to your GitHub repository. Community Cloud will immediately reflect the changes in your deployed app.
-
Optional: To see your updated, published app, return to the "My apps" section of your workspace at share.streamlit.io, and click on your app.
Stop or delete your codespace
When you stop interacting with your codespace, GitHub will generally stop your codespace for you. However, the surest way to avoid undesired use of your capacity is to stop or delete your codespace when you are done.
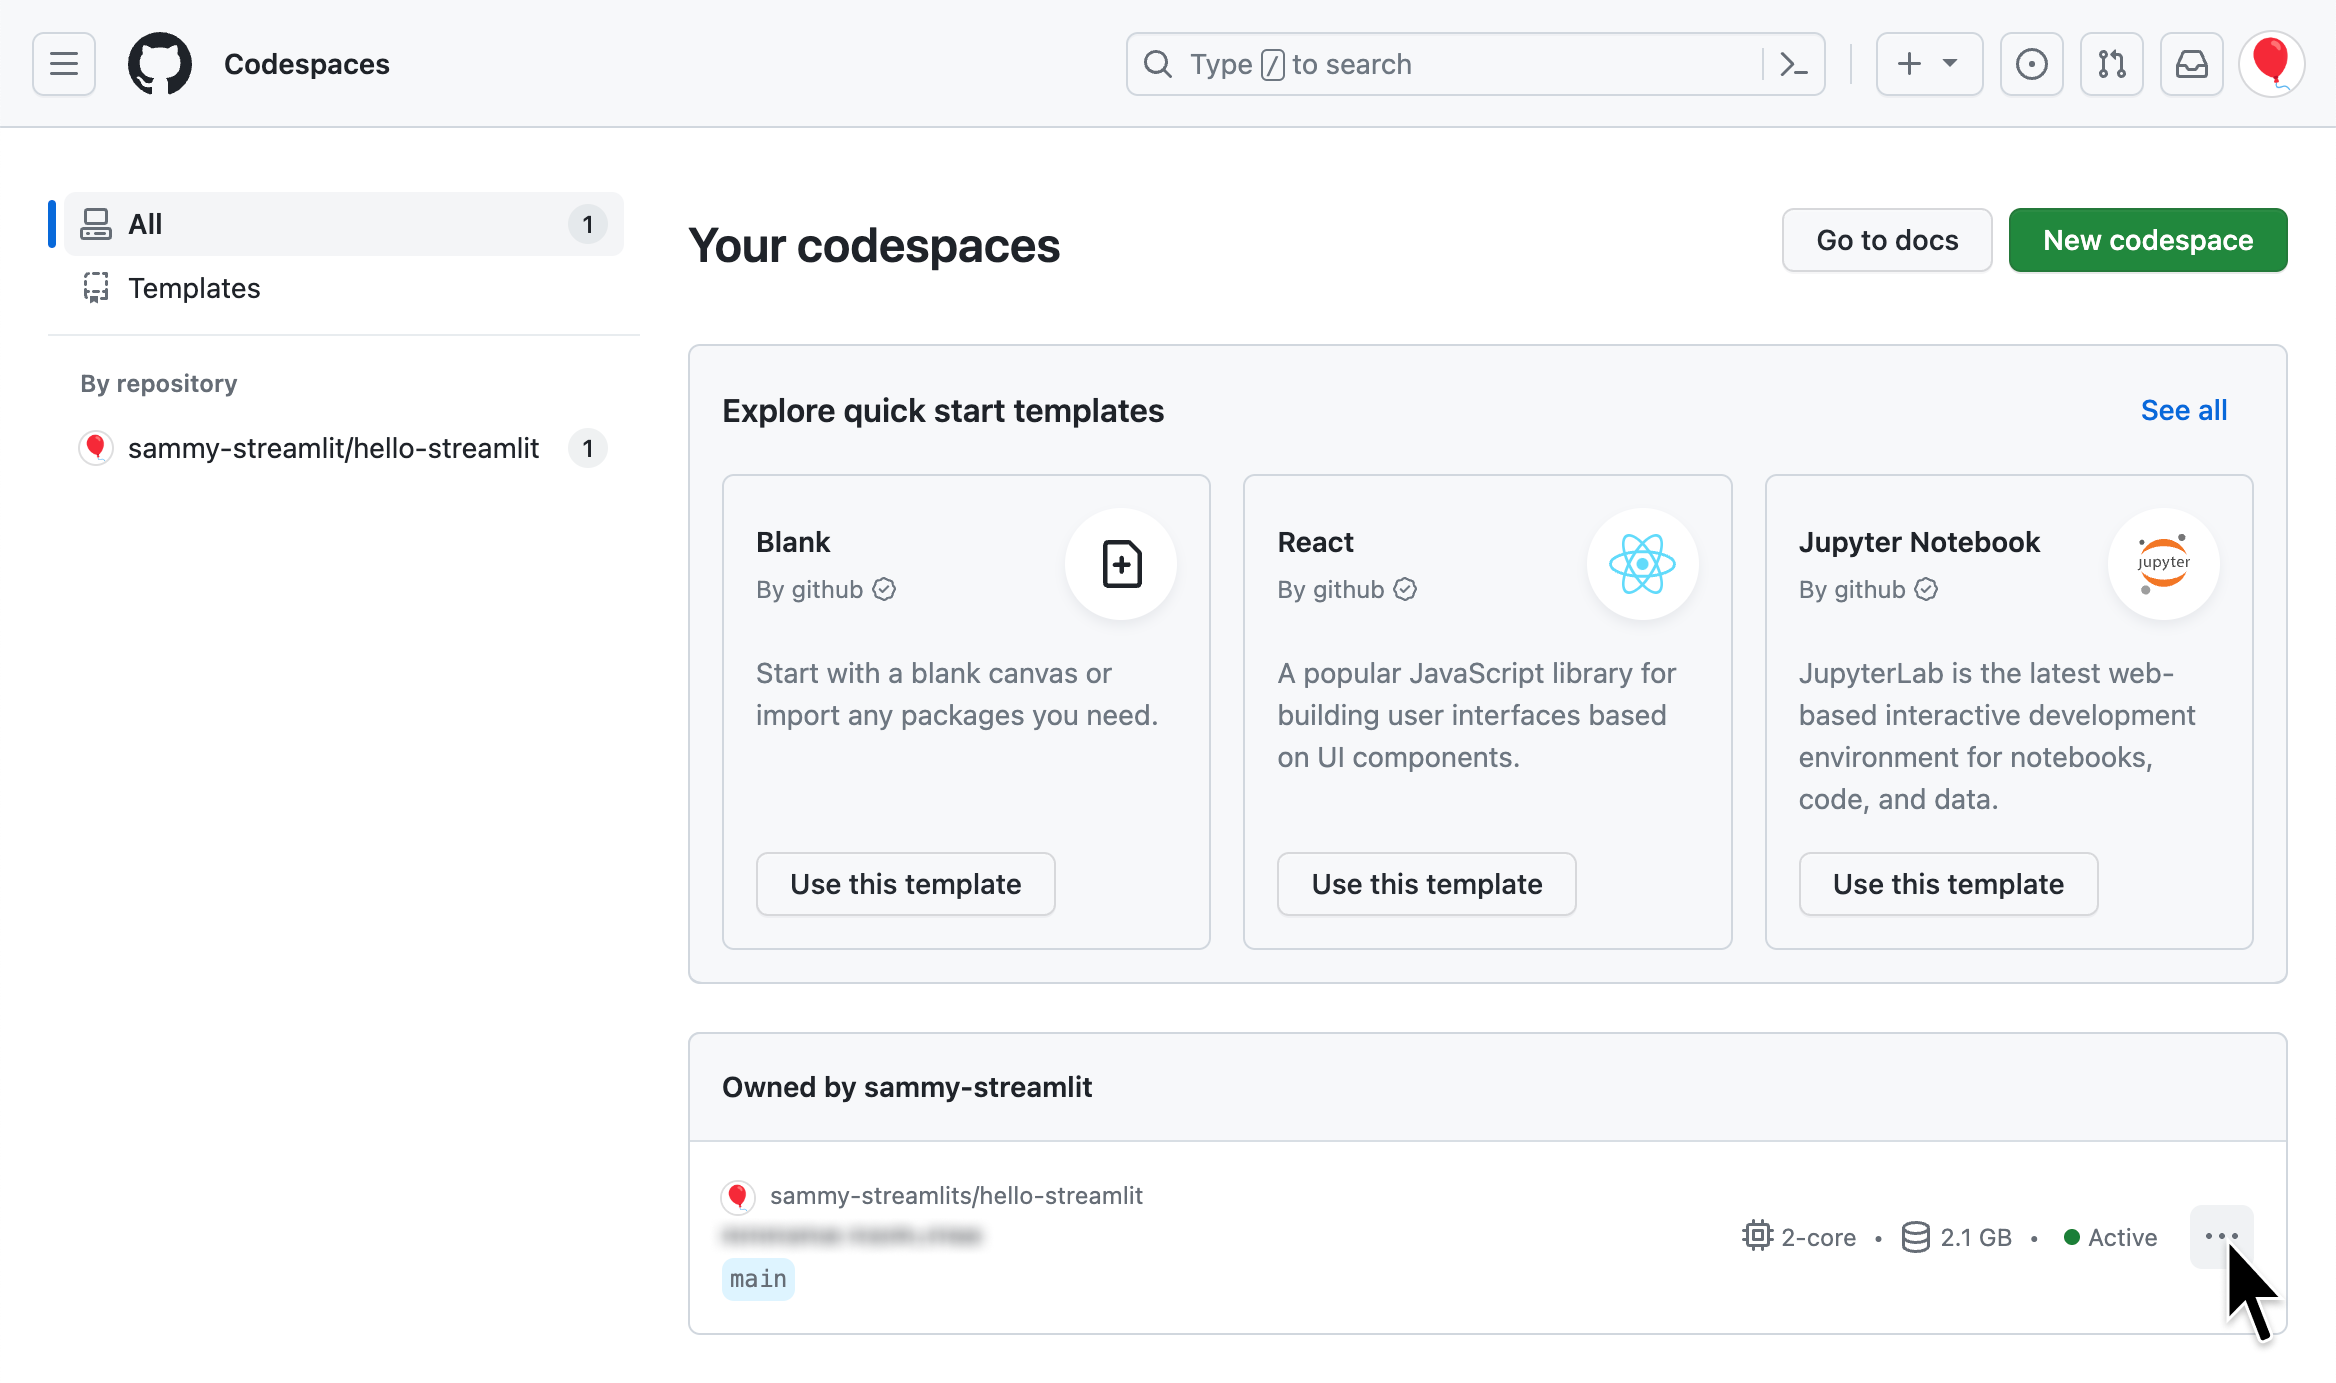
- Go to github.com/codespaces. At the bottom of the page, all your codespaces are listed. Click the overflow menu icon (more_horiz) for your codespace.
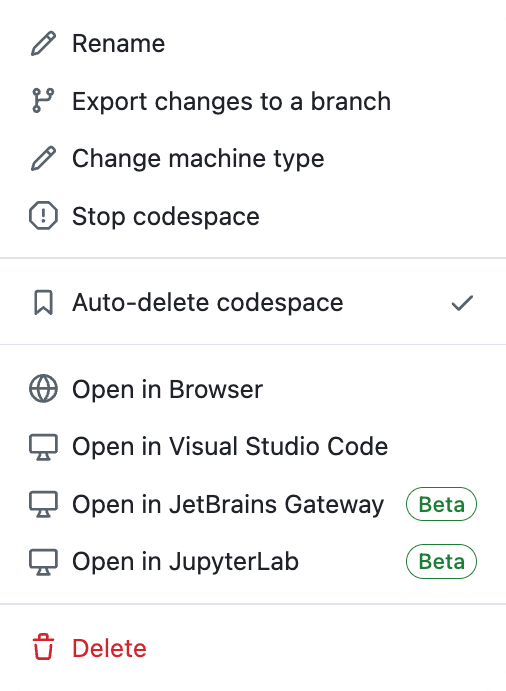
-
If you want to return to your work later, click "Stop codespace." Otherwise, click "Delete."
-
Congratulations! You just deployed an app to Streamlit Community Cloud. 🎉 Return to your workspace at share.streamlit.io/ and deploy another Streamlit app.
Still have questions?
Our forums are full of helpful information and Streamlit experts.