Connect Streamlit to Neon
Introduction
This guide explains how to securely access a Neon database from Streamlit. Neon is a fully managed serverless PostgreSQL database that separates storage and compute to offer features such as instant branching and automatic scaling.
Prerequisites
-
The following packages must be installed in your Python environment:
txtstreamlit>=1.28 psycopg2-binary>=2.9.6 sqlalchemy>=2.0.0push_pin Note
You may use
psycopg2instead ofpsycopg2-binary. However, building Psycopg requires a few prerequisites (like a C compiler). To usepsycopg2on Community Cloud, you must includelibpq-devin apackages.txtfile in the root of your repository.psycopg2-binaryis a stand-alone package that is practical for testing and development. -
You must have a Neon account.
-
You should have a basic understanding of
st.connectionand Secrets management.
Create a Neon project
If you already have a Neon project that you want to use, you can skip to the next step.
-
Log in to the Neon console and navigate to the Projects section.
-
If you see a prompt to enter your project name, skip to the next step. Otherwise, click the "New Project" button to create a new project.
-
Enter "Streamlit-Neon" for your project name, accept the othe default settings, and click "Create Project."
After Neon creates your project with a ready-to-use
neondbdatabase, you will be redirected to your project's Quickstart. -
Click on "SQL Editor" from the left sidebar.
-
Replace the text in the input area with the following code and click "Run" to add sample data to your project.
SQLCREATE TABLE home ( id SERIAL PRIMARY KEY, name VARCHAR(100), pet VARCHAR(100) ); INSERT INTO home (name, pet) VALUES ('Mary', 'dog'), ('John', 'cat'), ('Robert', 'bird');
Add the Neon connection string to your local app secrets
-
Within your Neon project, click "Dashboard" in the left sidebar.
-
Within the "Connection Details" tile, locate your database connection string. It should look similar to this:
Terminalpostgresql://neondb_owner:xxxxxxxxxxxx@ep-adjective-noun-xxxxxxxx.us-east-2.aws.neon.tech/neondb?sslmode=require -
If you do not already have a
.streamlit/secrets.tomlfile in your app's root directory, create an empty secrets file. -
Copy your connection string and add it to your app's
.streamlit/secrets.tomlfile as follows:TOML# .streamlit/secrets.toml [connections.neon] url="postgresql://neondb_owner:xxxxxxxxxxxx@ep-adjective-noun-xxxxxxxx.us-east-2.aws.neon.tech/neondb?sslmode=require"priority_high Important
Add this file to
.gitignoreand don't commit it to your GitHub repo!
Write your Streamlit app
-
Copy the code below to your Streamlit app and save it.
Python# streamlit_app.py import streamlit as st # Initialize connection. conn = st.connection("neon", type="sql") # Perform query. df = conn.query('SELECT * FROM home;', ttl="10m") # Print results. for row in df.itertuples(): st.write(f"{row.name} has a :{row.pet}:")The
st.connectionobject above handles secrets retrieval, setup, query caching and retries.By default,
query()results are cached without expiring. Setting thettlparameter to"10m"ensures the query result is cached for no longer than 10 minutes. You can also setttl=0to disable caching. Learn more in Caching. -
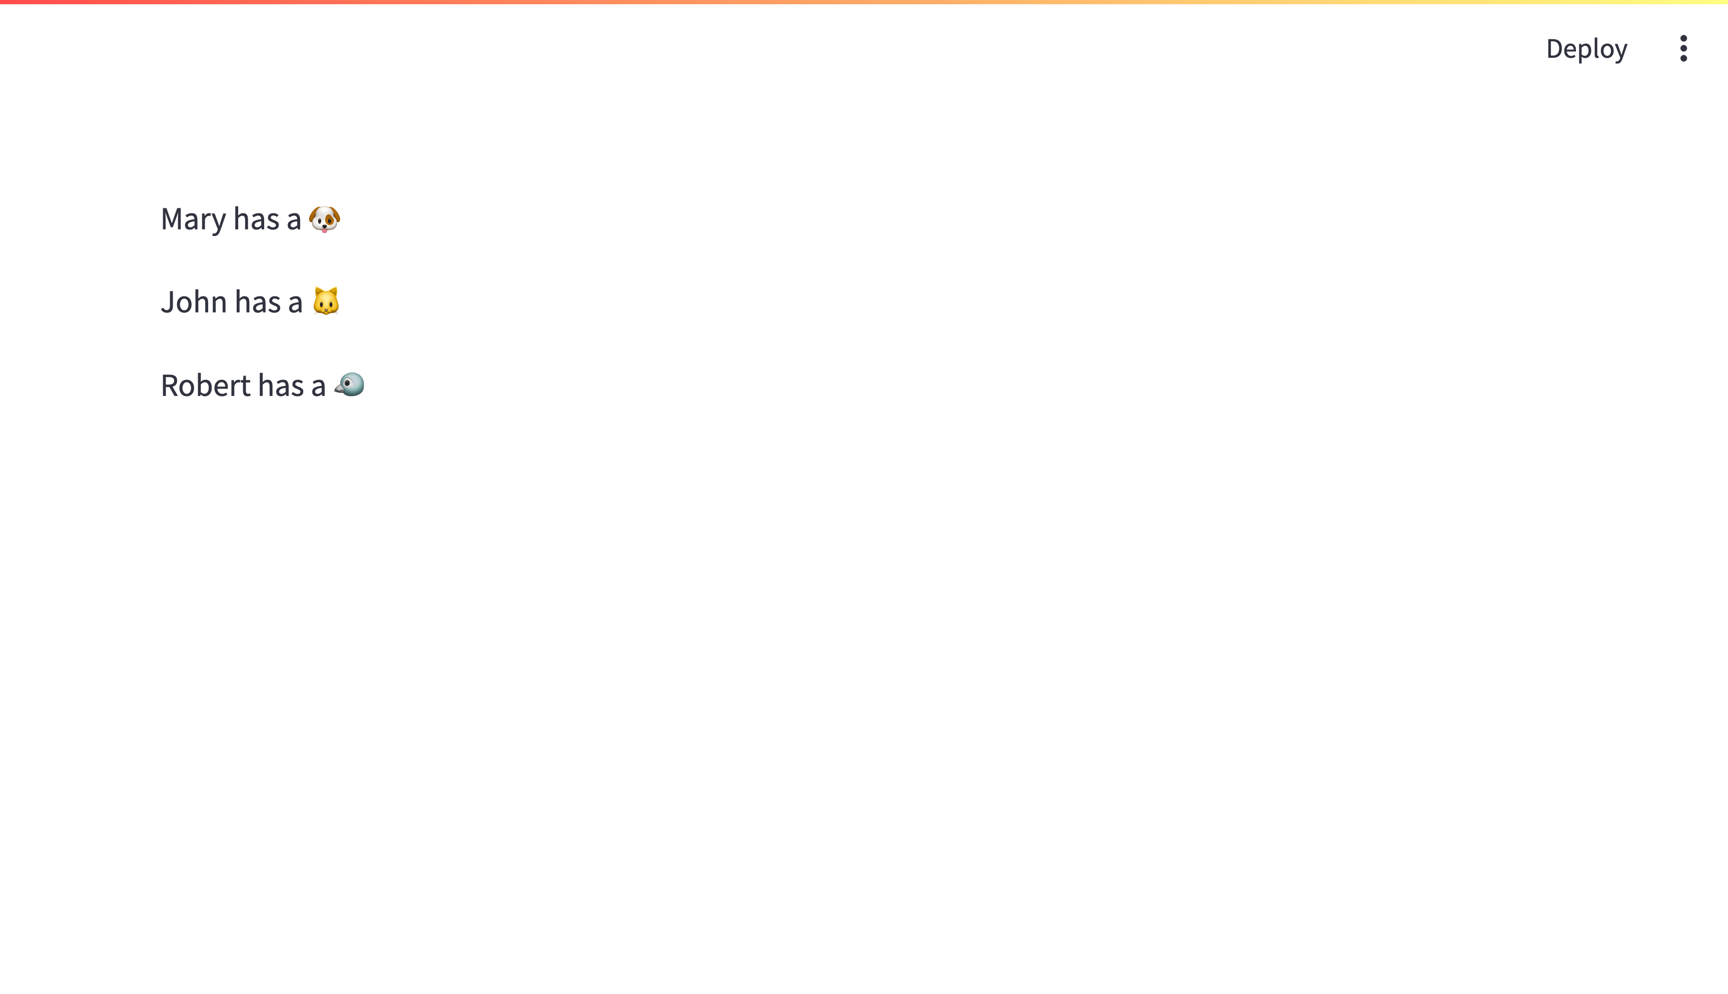
Run your Streamlit app.
Terminalstreamlit run streamlit_app.pyIf everything worked out (and you used the example table we created above), your app should look like this:
Connecting to a Neon database from Community Cloud
This tutorial assumes a local Streamlit app, but you can also connect to a Neon database from apps hosted on Community Cloud. The additional steps are:
- Add a
requirements.txtfile to your repo. Include all the packages listed in Prequisites and any other dependencies. - Add your secrets to your app in Community Cloud.
Still have questions?
Our forums are full of helpful information and Streamlit experts.